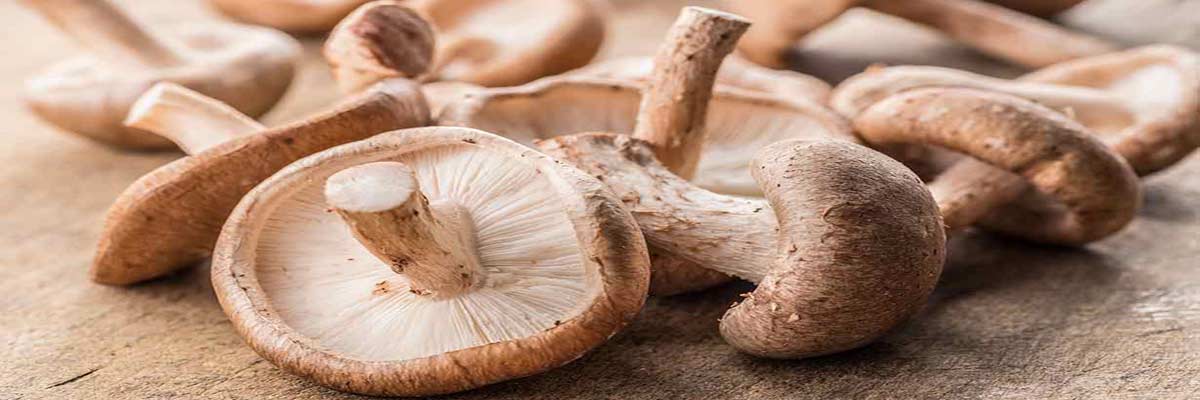
How To Grow Shitake Mushrooms
Anyone who’s been to a gardening class or a permaculture class about how to produce more food from home has heard the question, “What can I grow in the shade?” Shaded areas, especially deeply shaded areas of the yard, are not especially conducive to growing fruits and vegetables. Those plants like sunlight. So what is a Victory Gardener to do? One answer is mushrooms.
At this point I’d like to share my status as a novice concerning mushroom cultivation. This is my first attempt at growing fungi for personal consumption so feel free to learn with me but please don’t label me an expert. I’m just figuring this out as I go and sharing the experience. I’m following the directions of the Mushroom People of Summertown, TN. I’m going to grow Shitakes and you’re welcome to follow along.
After receive my inoculation plugs in the mail, my brother and I thinned several trees from a family member’s property.
I’m a big fan of trees and as such I’d like to advocate using trees that are scheduled to be cut down. If you have a wooded area on your property, this could be a useful part of its sustainable management. People who cut trees for a living might be able to provide you with fresh timber without having to cut down trees that would have otherwise remained in place. Be sure to use trees cut before the leaves appear in the spring so that means get in gear if you want to grow mushrooms this year. Logs should be between 3″ and 6″ inches in diameter. Oak works best but other hardwoods like Sweetgum or most Maples will work alright. Stay away from softwoods and pines.
My brother and I cut 40″ long logs that were fairly easy to move around. We let them rest for a few days after cutting them but it should be noted that the directions mention getting the logs inoculated within three weeks of cutting. It’s important to do so before naturally occurring fungi begin to move in and start rotting the logs. We stacked them on a pallet to keep them off the ground which helps keep them from being contaminated.
Growing mushrooms in natural logs seems to be all about moisture content. The logs must remain moist so we stacked them in a place where we can water them or soak them periodically during the warmer, drier months. They need to remain in the shade as this will help keep their internal moisture content strong.

When we were ready, we placed the logs on saw horses. Then I marked the logs every 6″ staying at least a 2″ from the ends of each log. Jon drilled holes with a 5/8″ bit about 1″ into each log at each mark. Then I rotated each log about 2″ and repeated this process.

The result was a grid of holes all the way around the log. Then I tapped a mushroom plug into each hole. To seal the holes we melted cheese wax, also purchased from the Mushroom People. I melted it and then brushed it over each hole with an old paint brush. I also used it to seal the stumps of small branches I removed earlier when cutting down the trees.

The logs were returned to their stacking location. The incubation period is about 9 months so we won’t have mushrooms until next winter, or more likely next spring. But the logs will fruit for several years to come, producing 3 to 5 ponds of mushrooms per log. And with plenty of shaded area that won’t even grow good lawn, homegrown mushrooms seems like a good idea, despite the wait. And it really didn’t take much time or money. I’ll let you know how they turn out.


